Word表格设置导入数据后自动计算求和的方法教学
Word表格设置导入数据后自动计算求和的方法教学。在使用Word软件的时候时候,我们也是可以去导入表格来进行数据统计的。有用户想要设置某个表格项目中自动求和的功能,导入数据之后会自动进行求和。那么这个功能如何实现,一起来看看具体的设置方法吧。
Word表格设置导入数据后自动计算求和的方法教学。在使用Word软件的时候时候,我们也是可以去导入表格来进行数据统计的。有用户想要设置某个表格项目中自动求和的功能,导入数据之后会自动进行求和。那么这个功能如何实现,一起来看看具体的设置方法吧。
操作步骤:
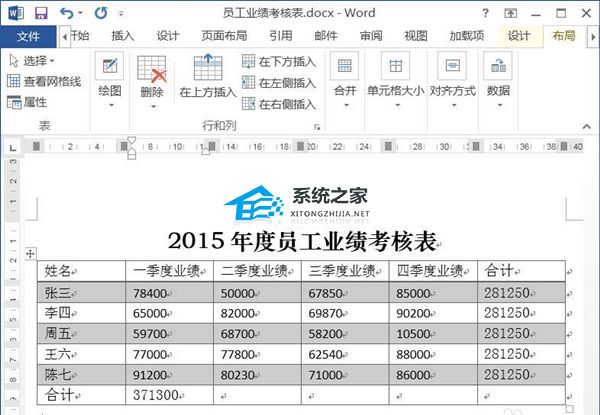
1、将鼠标定位在要插入公式的单元格中,在“表格工具”栏中,单击“布局”选项卡;?在“数据”组中单击“公式”按钮 。
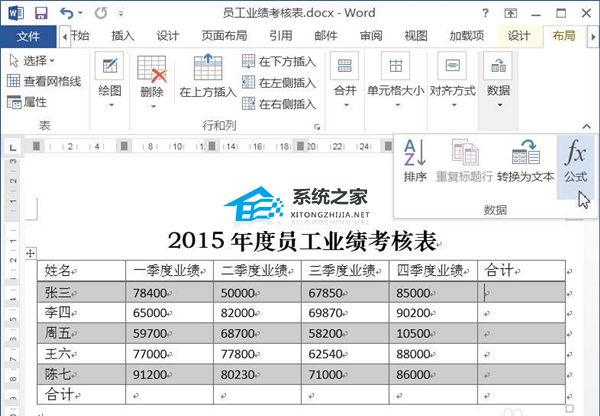
2、弹出“公式”对话框,此时,在公式文本框中自动显示公式“=SUM(LEFT)”,单击“确定”按钮。该公式表示对单元格左侧的数据进行求和。

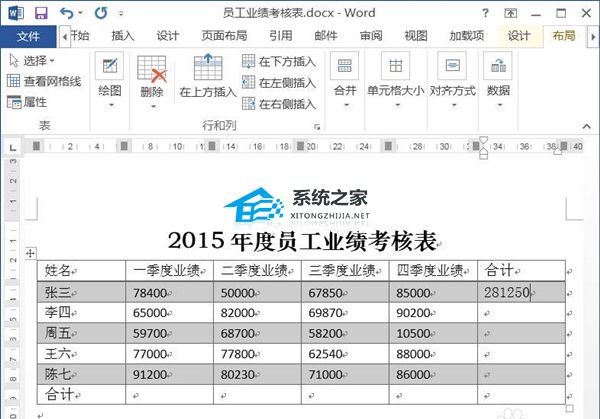
3、此时,选中的单元格就自动应用求和公式。
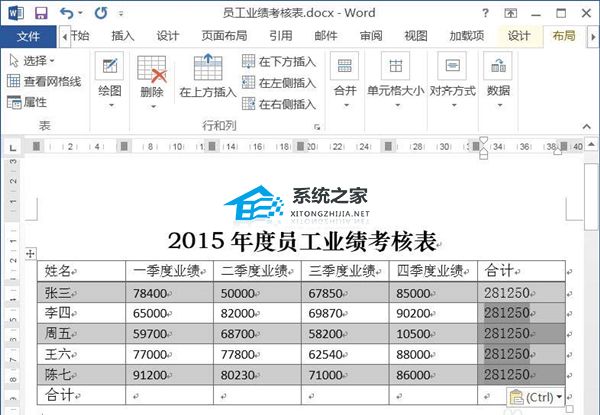
4、将求和公式复制并粘贴到下方的4个单元格中。
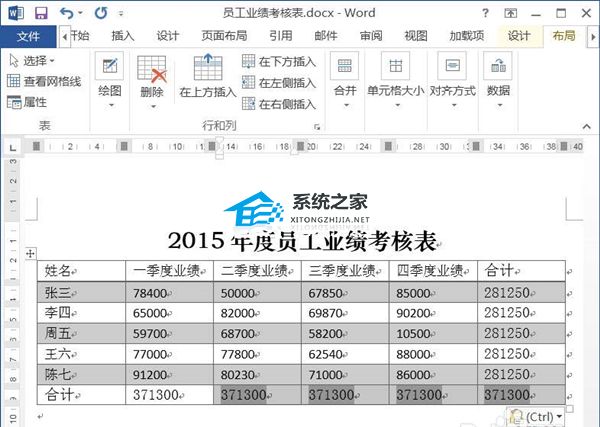
5、将鼠标定位在要插入公式的单元格中,在“表格工具”栏中,单击“布局”选项卡;?在“数据”组中单击“公式”按钮。
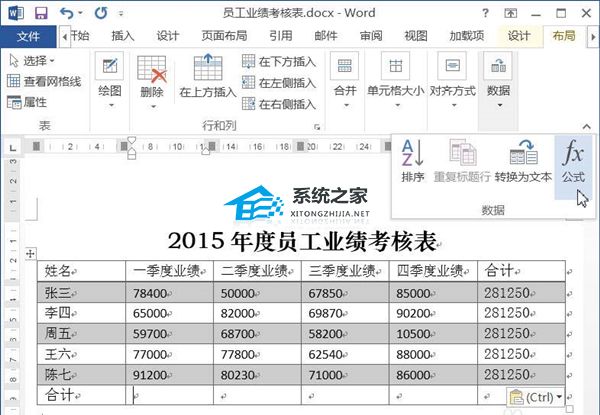
6、弹出“公式”对话框,此时,在公式文本框中自动显示公式“=SUM(ABOVE)”,单击“确定”按钮。该公式表示对单元格上方的数据进行求和。

7、此时,选中的单元格就自动应用求和公式。
8、将求和公式复制并粘贴到右侧的5个单元格中。
9、按下“Ctrl+A”组合键,选中整篇文档,单击鼠标右键,在弹出的快捷菜单中选择“更新”命令。
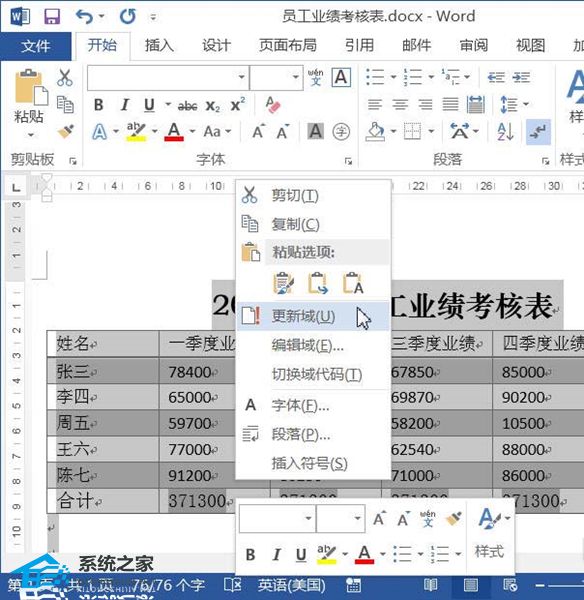
10、此时之前复制并粘贴的数据,就自动更新了。此时就完成了word中表格数据的计算。